Complete Guide to Climbing Mt St Helens
Last Updated on September 25, 2025
Climbing Mt St Helens is without question one of my top experiences ever! Despite the vast numbers of photos I’ve taken, they really don’t capture the experience (though they do help me remember that experience!). The feeling of climbing a volcanic landscape and then sitting at the mouth of the crater of an active volcano is unbelievable. You can feel the strength of the volcano and it is awe inspiring. It’s like sitting at the edge of a mouth of something alive. And this volcano is very much alive. There are no superlatives to do it justice, so you’ll have to go yourself!
Related: Perfect Mt St Helens day trip from Seattle or Portland
I won’t sugar coat the fact that this is a hard hike (I’ve summitted twice and had three other attempts where I had to turn around either due to weather or not bringing enough water), but it isn’t technical and doesn’t require any special climbing equipment. YOU CAN climb Mt St Helens, you really can. It is hard, and it will require some preparation, but it’s an amazing experience and an accomplishment to be super proud of (I know I am!). It is absolutely worth the effort and preparation to climb Mt St Helens, especially for those of us living in the shadow of the Cascade volcanoes, who don’t want to (or can’t afford) a technical climb for a peak like Mt Rainier.
In this post I’ll cover planning and logistics to climb Mt St Helens, as well as how to prepare, what to bring on your hike (including a few things you might not think of that will make all the difference!) and a description of the hike.
This post is about a summer climb using the main summer route on monitor ridge (information about the winter route can be found here). If you’re looking to visit Mt St Helens without climbing, or you want to spend more time in the area (which is a great plan because it’s such an interesting and unique place), checkout my previous post on spending a weekend around Mt St Helens National Monument.
- Planning and logistics
- How to prepare for your climb
- What should I pack?
- Trail and climb description
Planning and Logistics to Climb Mt St Helens
When should I Climb Mt St Helens?
There are a few considerations for when to climb. A climbing permit (discussed below) is required year round, though they are free and easy to get between November and March. I have only climbed in late summer (August and September), when it has been snow free. Until at least early July, you’ll be on snow near the summit, so if you want to avoid snow, plan your hike for late summer or early fall.
If you don’t mind snow, spring or early summer could be good, and there are folks who climb in winter on snowshoes (that’s too much snowshoeing for me, but if you dig epic snowshoeing it would be an awesome trip). I have chosen to do late summer mostly because I have a mega fan of geology and volcanoes and I wanted to be able to see the edge of the crater (a consideration for when there is still snow-a large cornice forms at the summit on the crater rim and it is not safe to get anywhere near the edge).
In late summer wildfire smoke may obscure the more distant peaks such as Mt Rainier and Mt Hood (this was the case on one of my climbs). In my opinion, late summer is the time to do it, but there are lots of reasons to consider other times of the year for people with different priorities. Late July, August and early September are the times with the least rain in the Pacific Northwest, so that is also a consideration for the epic views on this hard hike.
How do I get a permit to Climb Mt St Helens?
Mt St Helens is part of Mt St Helens National Monument which is managed by the National Forest Service. Climbing requires a permit all year, between November 1 and March 31, you can get your permit at the kiosk at the Marble Mountain Sno park (this is where you will start your climb in the winter and spring when Climber’s Bivouac (the summer route). You will also need a Washington Sno park permit to park at Marble Mountain in the winter.
From April 1 – October 31st, the number of permits is limited and must be purchased ahead of time. Check dates for permits here. Permits are $15 per person plus a $6 reservation fee. The permits sell out fast (especially summer weekends go immediately) so be ready with your dates.
How do I prepare to Climb Mt St Helens?
Mt St Helens is hard. At least it is for me. I am tough but I’m also very slow. When hiking with others, I’m almost always the slowest. However, I can absolutely do it, and you can too! It does require a bit of preparation but it’s absolutely worth it!!
The most important thing you can do is to do lots of hiking leading up to it. Ideally, you are getting out all winter and never have an off season! But, many people are not up for hiking in the winter when it’s dark and wet, so make sure to start getting out there with short, flat hikes in the spring and slowly work up to being able to do more distance and elevation gain (this is another argument for doing your climb in late summer). This is how I’ve done it each time, and in addition to building your strength and cardiovascular fitness (which is also so good for your body and mind!), it also builds your confidence that you WILL be able to do this.
Mt St Helens has about 5000 feet of elevation gain (on the summer route) and covers about 5 miles, so if you are working up to hikes that are approaching that over time, you’ll be just fine. It has taken me about 7 hours to get to the top both times (many people do it in far less) and I’ve spent about 2 hours at the summit both times and it’s taken about 5 hours to get down (going down can be very slow going, especially over the boulder fields). More details about the trail itself will be covered below in the trail description. Plan to start as early as possible and camp near the trailhead the night before (either at Climber’s Bivouac trailhead or another campground nearby).
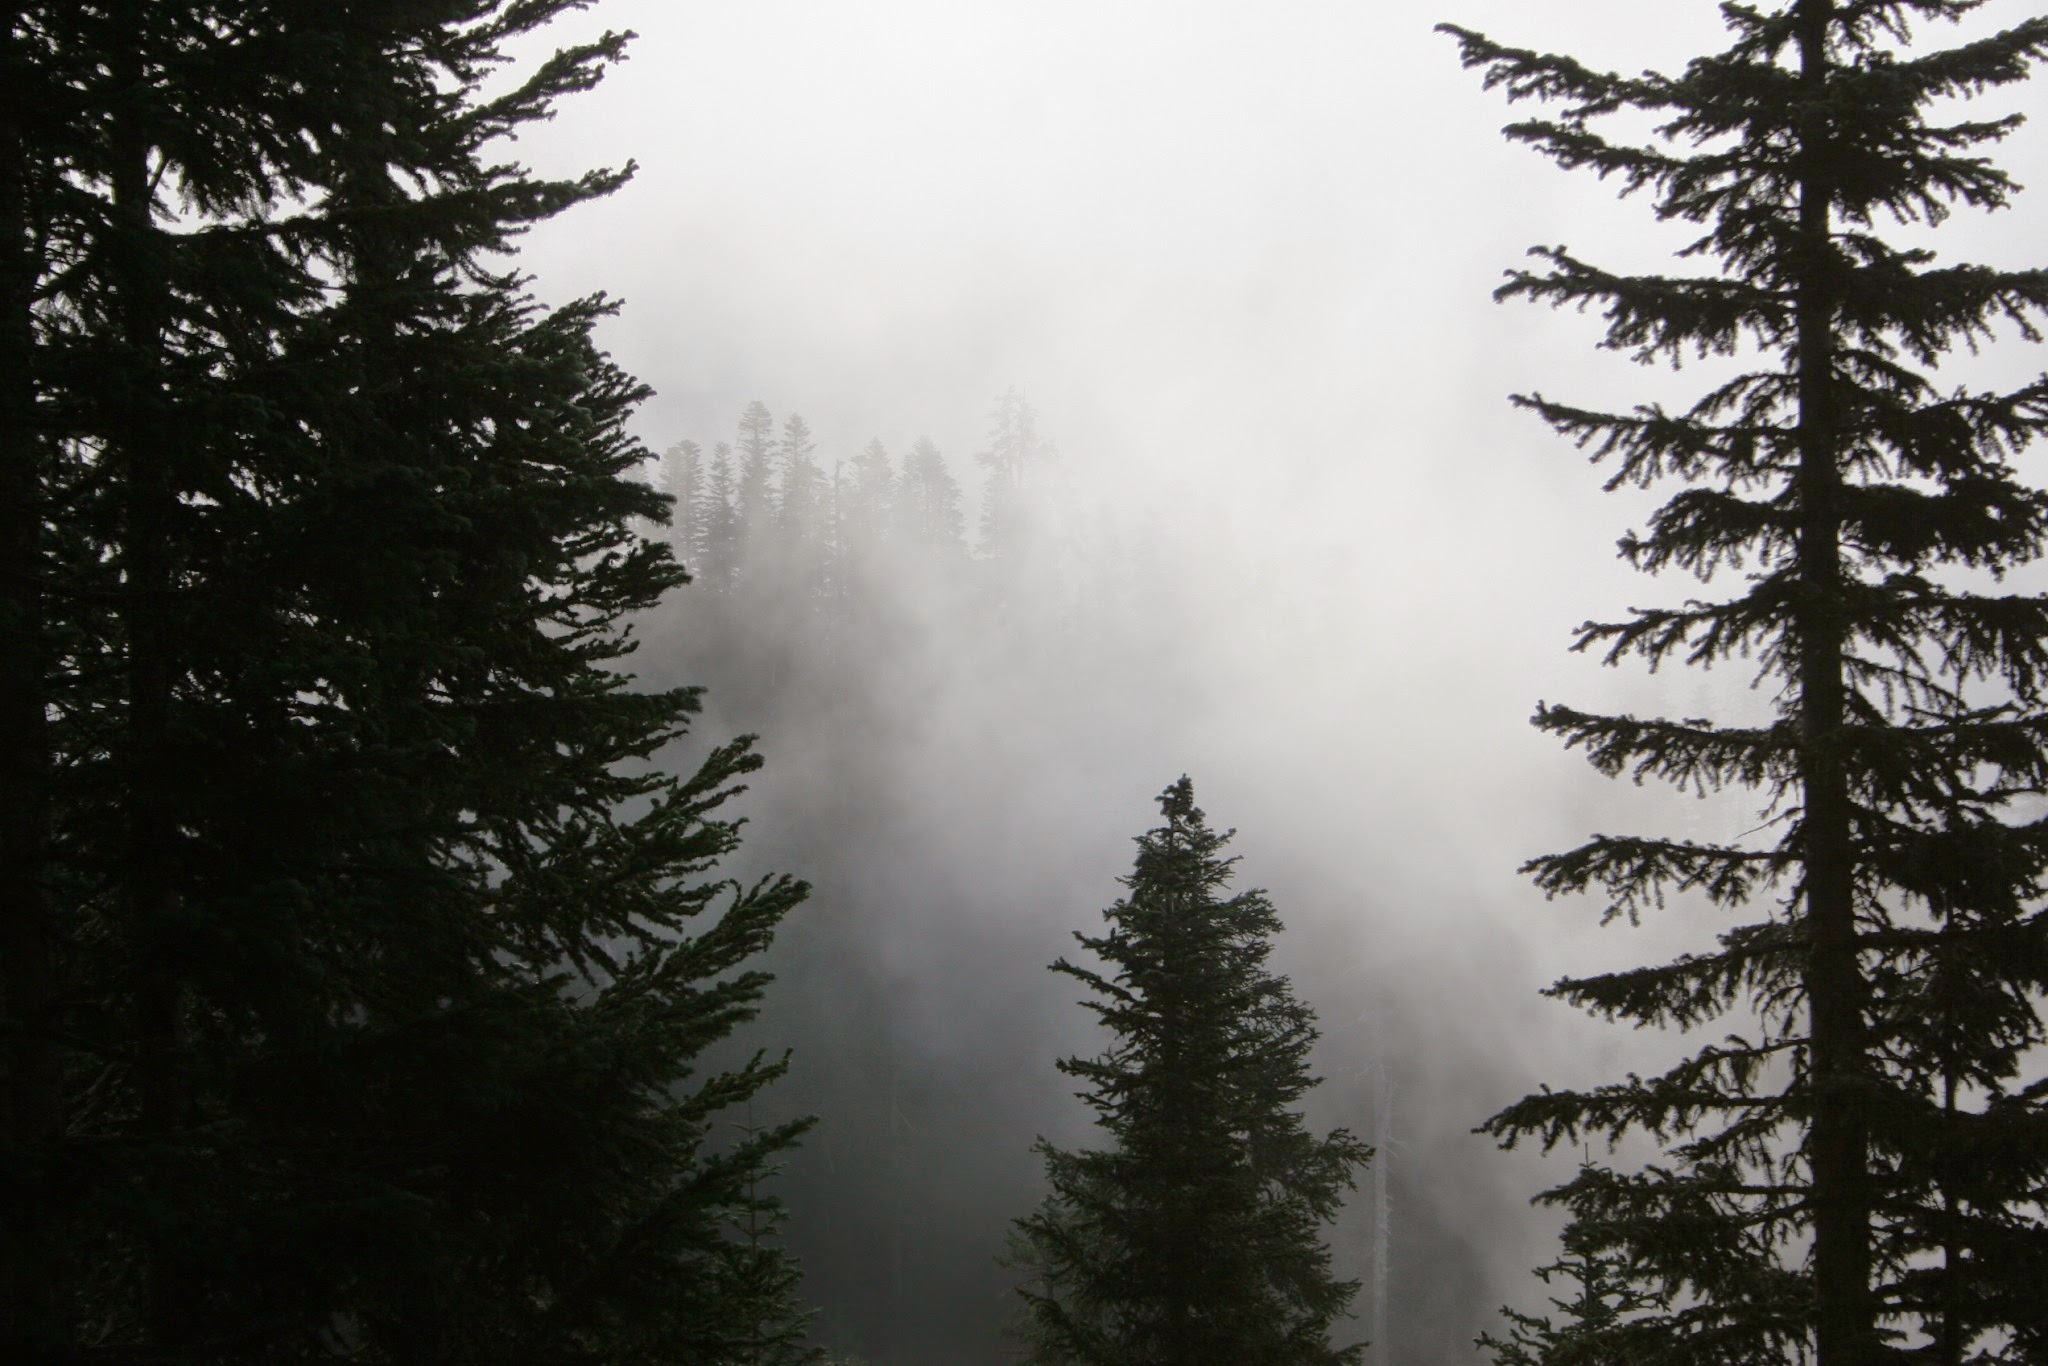
It’s also critical to mentally prepare, including to mentally prepare to not reach the summit. As mentioned above, three times I’ve been so close and had to turn around due to weather changing quickly (to an icy blizzard) or to not having brought enough water. An important part of preparation for any hike, especially one as strenuous as this, is to prepare to make good decisions and turn around if needed. I turned around twice before my third attempt where I reached the summit. I’ve never regretted turning around the first two times (and those were still pretty amazing trips!).
Finally, it’s important to make sure you bring everything you need for a successful and safe hike! This is covered in the next section.
What should I pack to climb Mt St Helens?
This post contains affiliate links, which means if you make a purchase I may receive a small commission at no additional cost to you. As an Amazon Associate, I earn from qualifying purchases
This is a trip where planning ahead, making a list and double and triple checking your pack and your thinking is absolutely essential. As with any hike, it’s important to have all of your 10 essentials for such as long and strenuous day. I’ve included more details about them in the list below as well as some additional items that you’ll need.
- Navigation: Map and compass (optional GPS)-on this hike, this is really helpful to figuring out where you are along the climb. Only the first couple miles is a traditional trail hike, after that the trail is marked with poles and later is just a push up the ash field, so navigation is extra important. Don’t count on your phone! Also, the topo map of Mt St Helens just looks really cool. You’ll want it as a souvenir.
- Sun protection: When you climb Mt St Helens, the trip is almost entirely exposed (the first couple miles are a trail hike but after that there is no shade to be found). Bring sunscreen, lip protection (with sunscreen) and a hat and sunglasses.
- Layers of clothing for all possible weather (including an extra layer you aren’t expecting to need): Every time I’ve done it has been very hot, but make sure to have a warm layer and a rain jacket at a minimum because the weather can change suddenly!
- Headlamp: Even with our long summer days, both times I have finished this hike in the dark!
- First Aid kit
- A knife and duct tape: again, it’s a long day! Have some supplies to fix broken things like pack straps and boot laces
- FOOD: I cannot say this enough-YOU NEED A TON OF FOOD!! Figure out how many calories you expect to burn and then bring that many with you (plus a couple of candy bars for quick energy). The amount of food you’re bringing will probably look ridiculous but trust the math! It’s a long, hard day and you need lots of calories, especially carbs that your body can turn into energy quickly. I’ve also observed that bars are a tough way to get through this day, it’s just, A LOT of bars. Mix it up with some peanut butter and honey sandwiches (my go to for hard hikes) and other real food.
- WATER: More than you think you need
- Gloves: Gardening, weightlifting or biking gloves. A good portion of this climb involves using your hands to climb on sharp, volcanic rocks. Gloves that aren’t too heavy and hot (unless it’s winter, then go for the heavy ones) are a huge help to making this more comfortable!
- Headphones and music: Have I mentioned that this is a hard hike? Having some music and headphones is one of those things that really helps me when I’m feeling discouraged!
- Trekking poles: These are so helpful for that last part to the top which feels so long as you’re walking up the ash field (especially if you have the snow baskets on). There’s a lot of sliding backwards (imagine walking on a beach, but the beach is a steep hill, that’s what it’s like), and the trekking poles are a big help.
- Long pants: This is a dusty hike with no shade. Lots of people do it in shorts (I have) but I’ve found having long, lightweight pants like these is much more comfortable.
- Gaiters: Nice to have for the final push up (and down) on the ash field, to keep ash from getting into your boots (long pants help with this also). If you’re worried about being too hot in them like I was, you could get away with just boots and long pants (and shaking out your boots at the summit), but these really do make it a lot more comfortable.
- Car kit: In my mind, this is essential for every hike (the harder the hike the more I need it)! I keep a car kit with a water bottle, snack, a dry shirt and either flip flops or some other slip on shoes. These things don’t go on the hike, they wait in the car and it’s the BEST THING EVER.
What will the trail be like when I climb Mt St Helens?
I’ve said it before and will say it again…this trail is HARD and YOU CAN DO IT. Once you’ve mentally and physically prepared and triple checked your packing list, you’re ready to do this thing! As mentioned, camp at or near the trailhead so you can get an early start. I’ve always started at first light and always was glad I did.
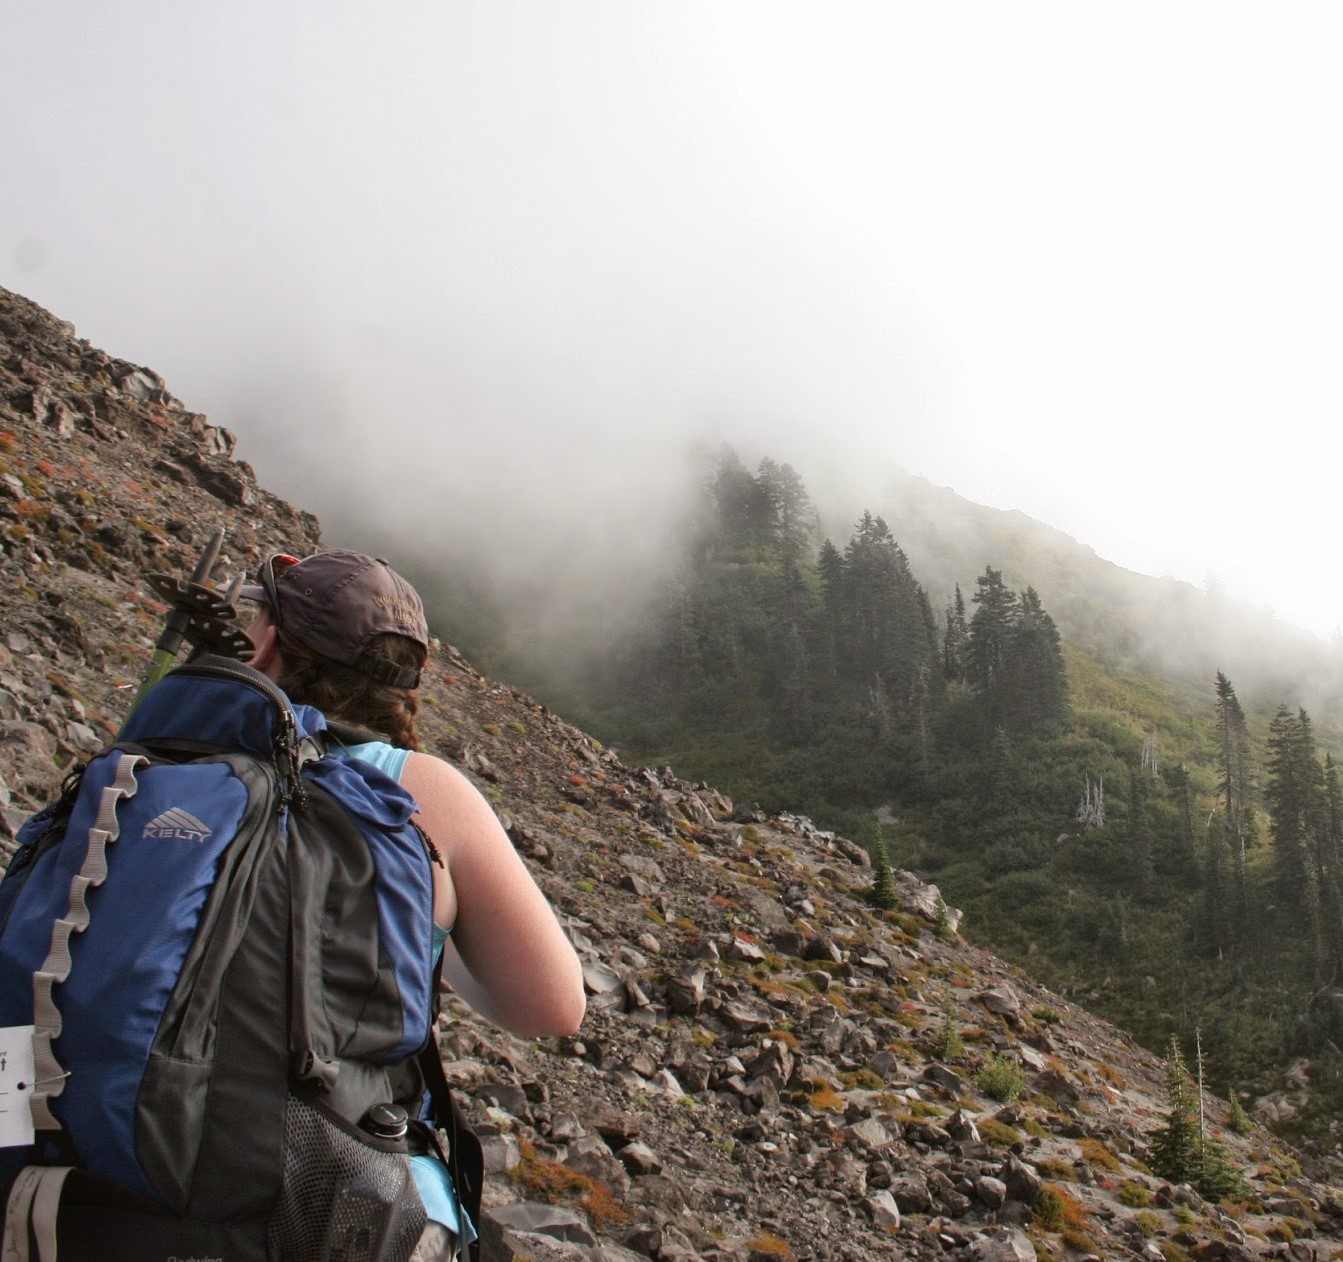
The first 2 or so miles is an typical western Washington trail hike through the forest. In this section I always think that it’s so insane that you’re on the side of a volcano that erupted with such force and destruction a mere 40 years ago! The eruption exploded and obliterated the north side of the mountain and everything for many miles, but here on the south side at first you wouldn’t even know you you were on a volcano!
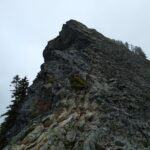
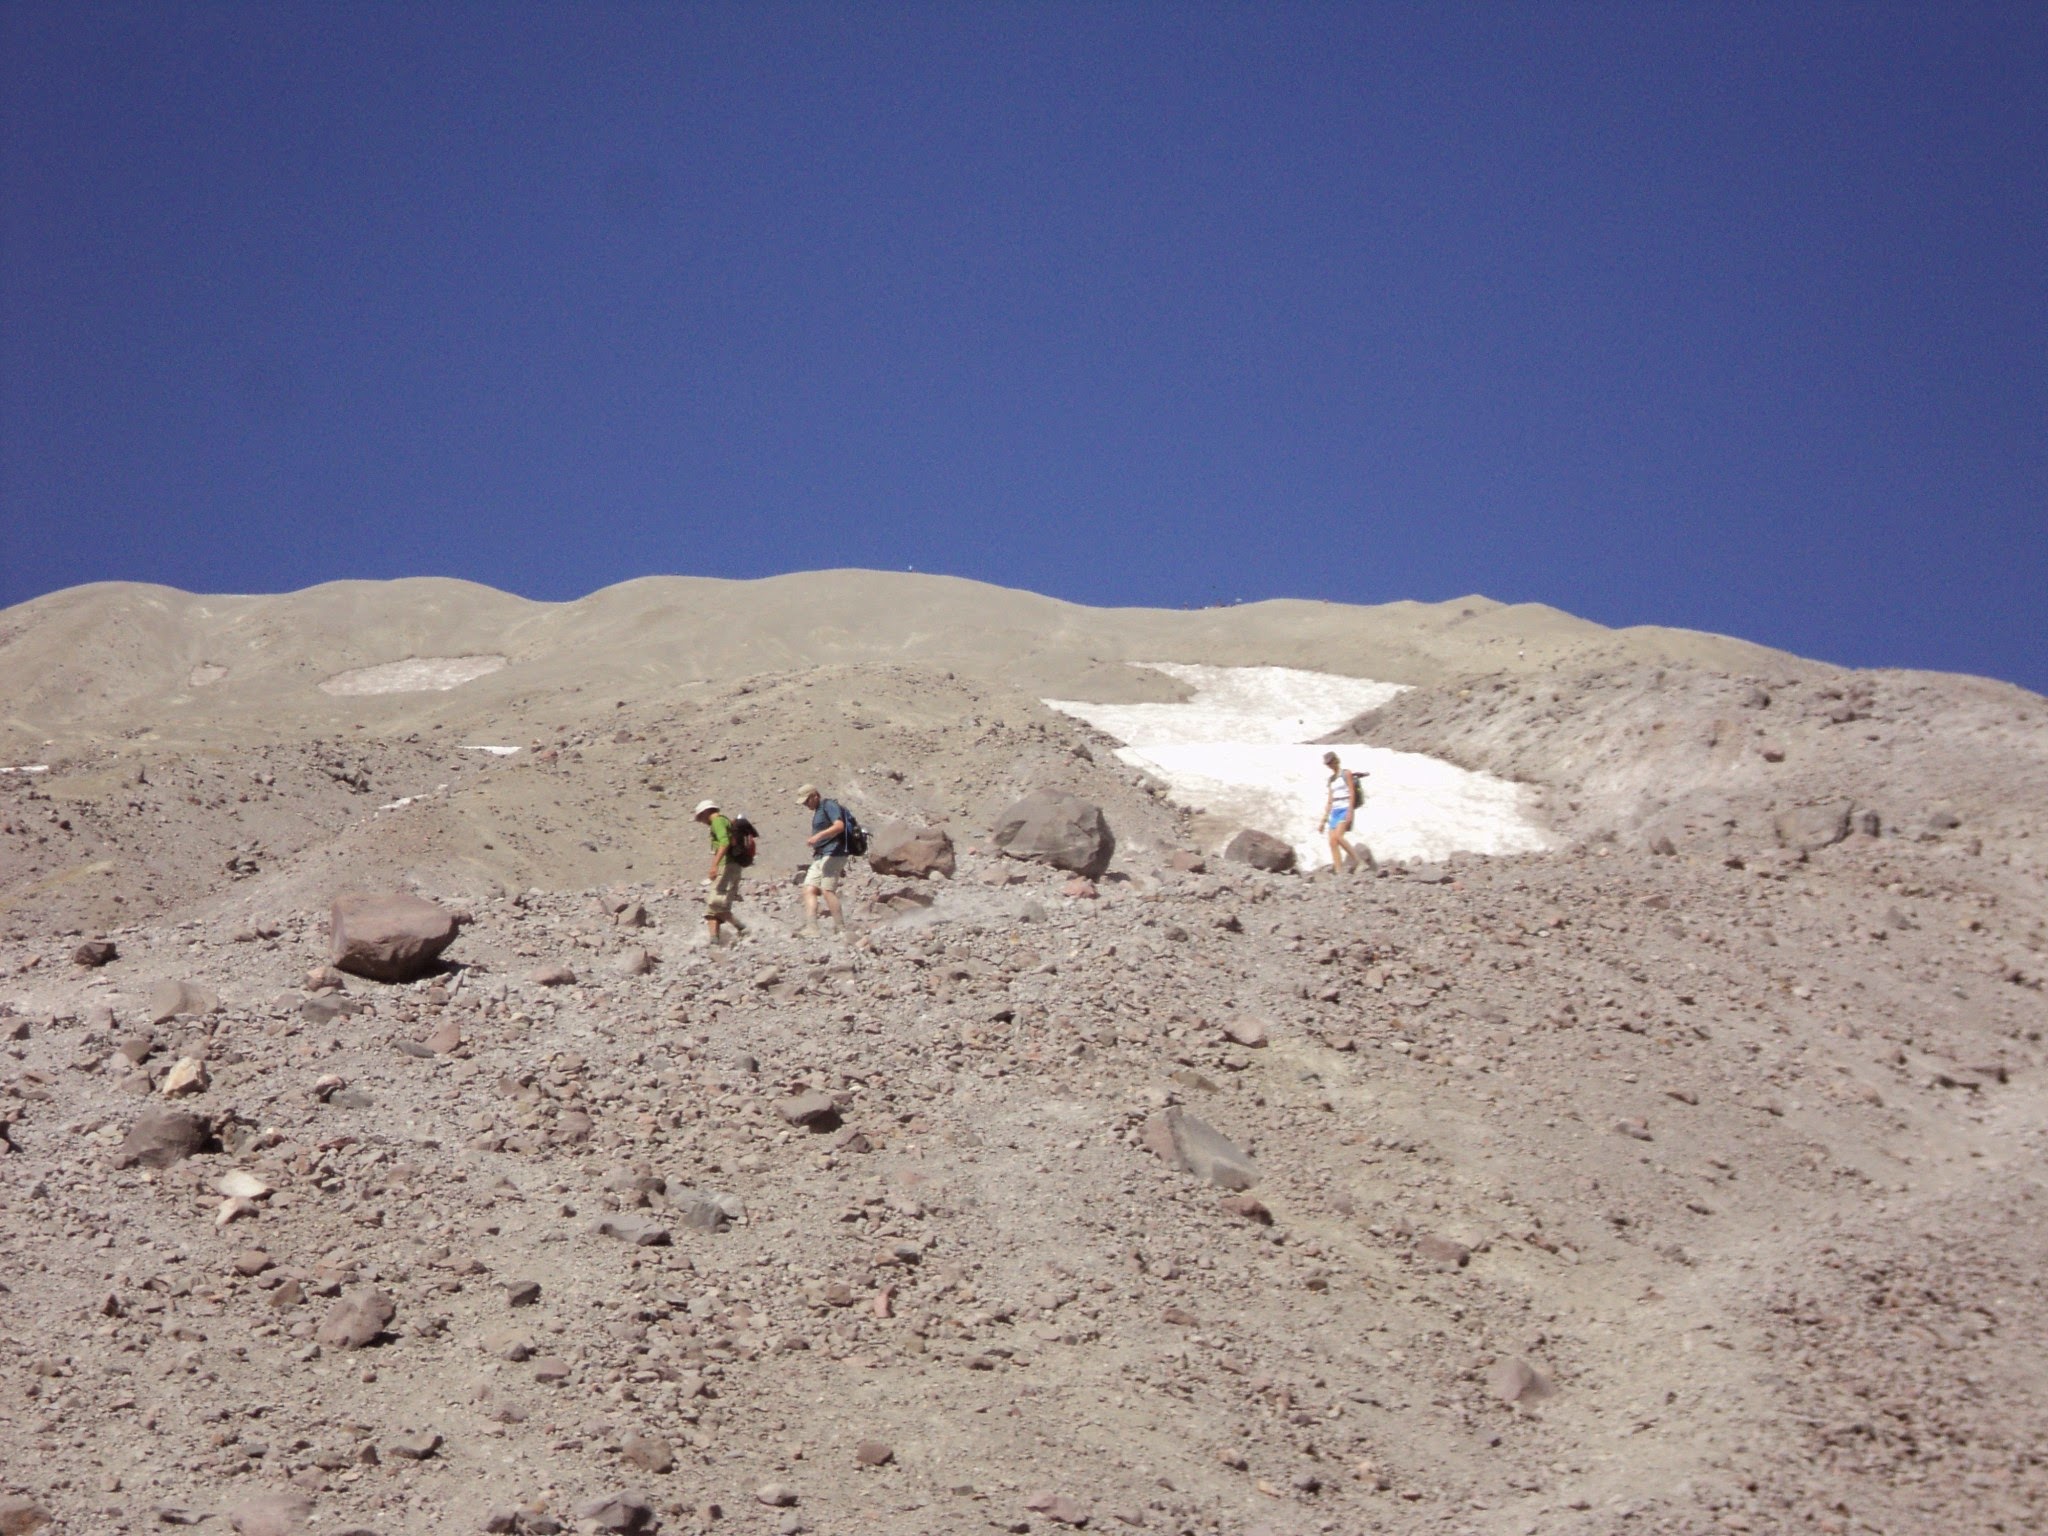
After about 2 miles of gentle climbing through the forest, you will reach the end of the trees and see a steep section with lots of rocks ahead of you. The next couple of miles will have a trail at times, but also a lot of time using your hands. There are never steep drop offs right next to you, but you will frequently be using your hands. The trail is marked in this section by wooden poles, and you just go from one pole to the next.
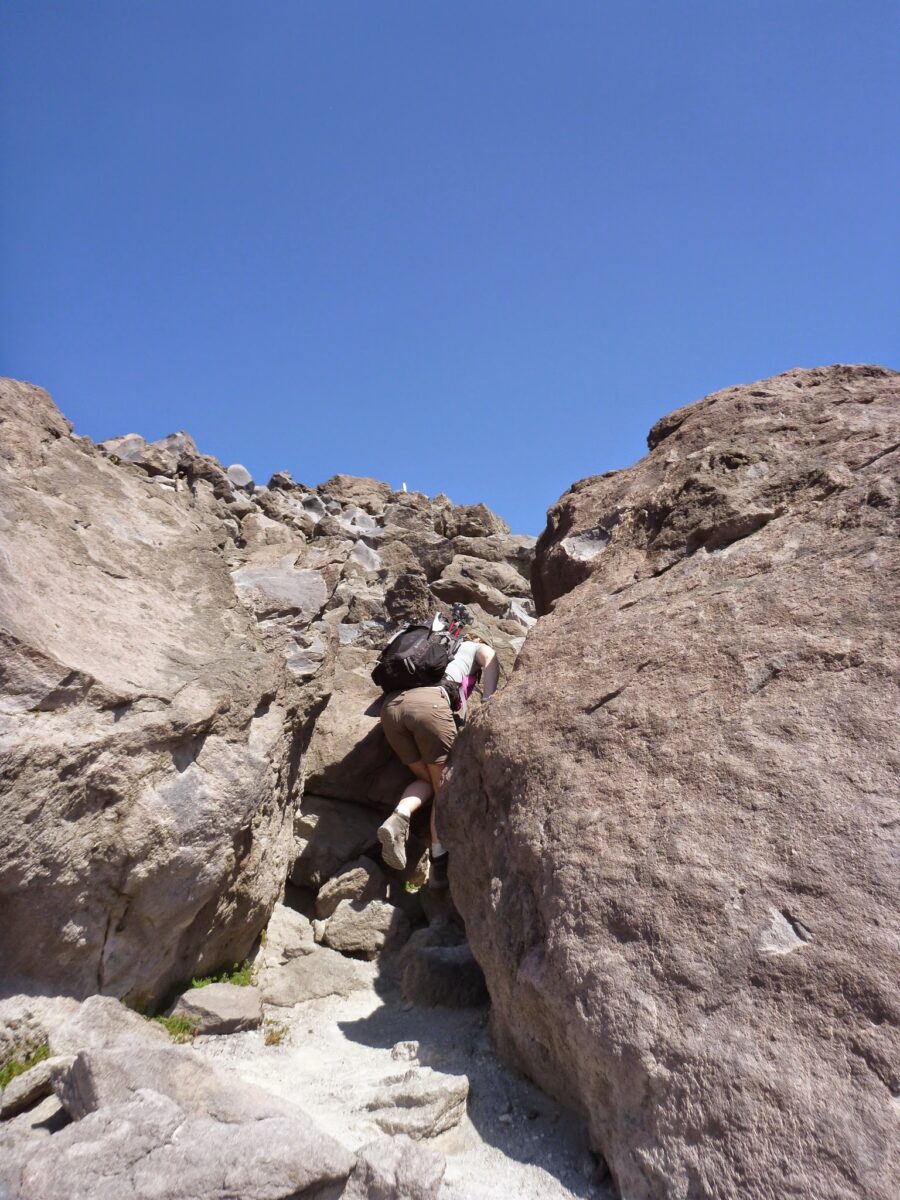
This section goes on for a long time! However, the view is spectacular. As you get higher, you see Mt Adams next to you, volcanic rocks and ash everywhere, permanent icefields and the occasional hardy wildflower.
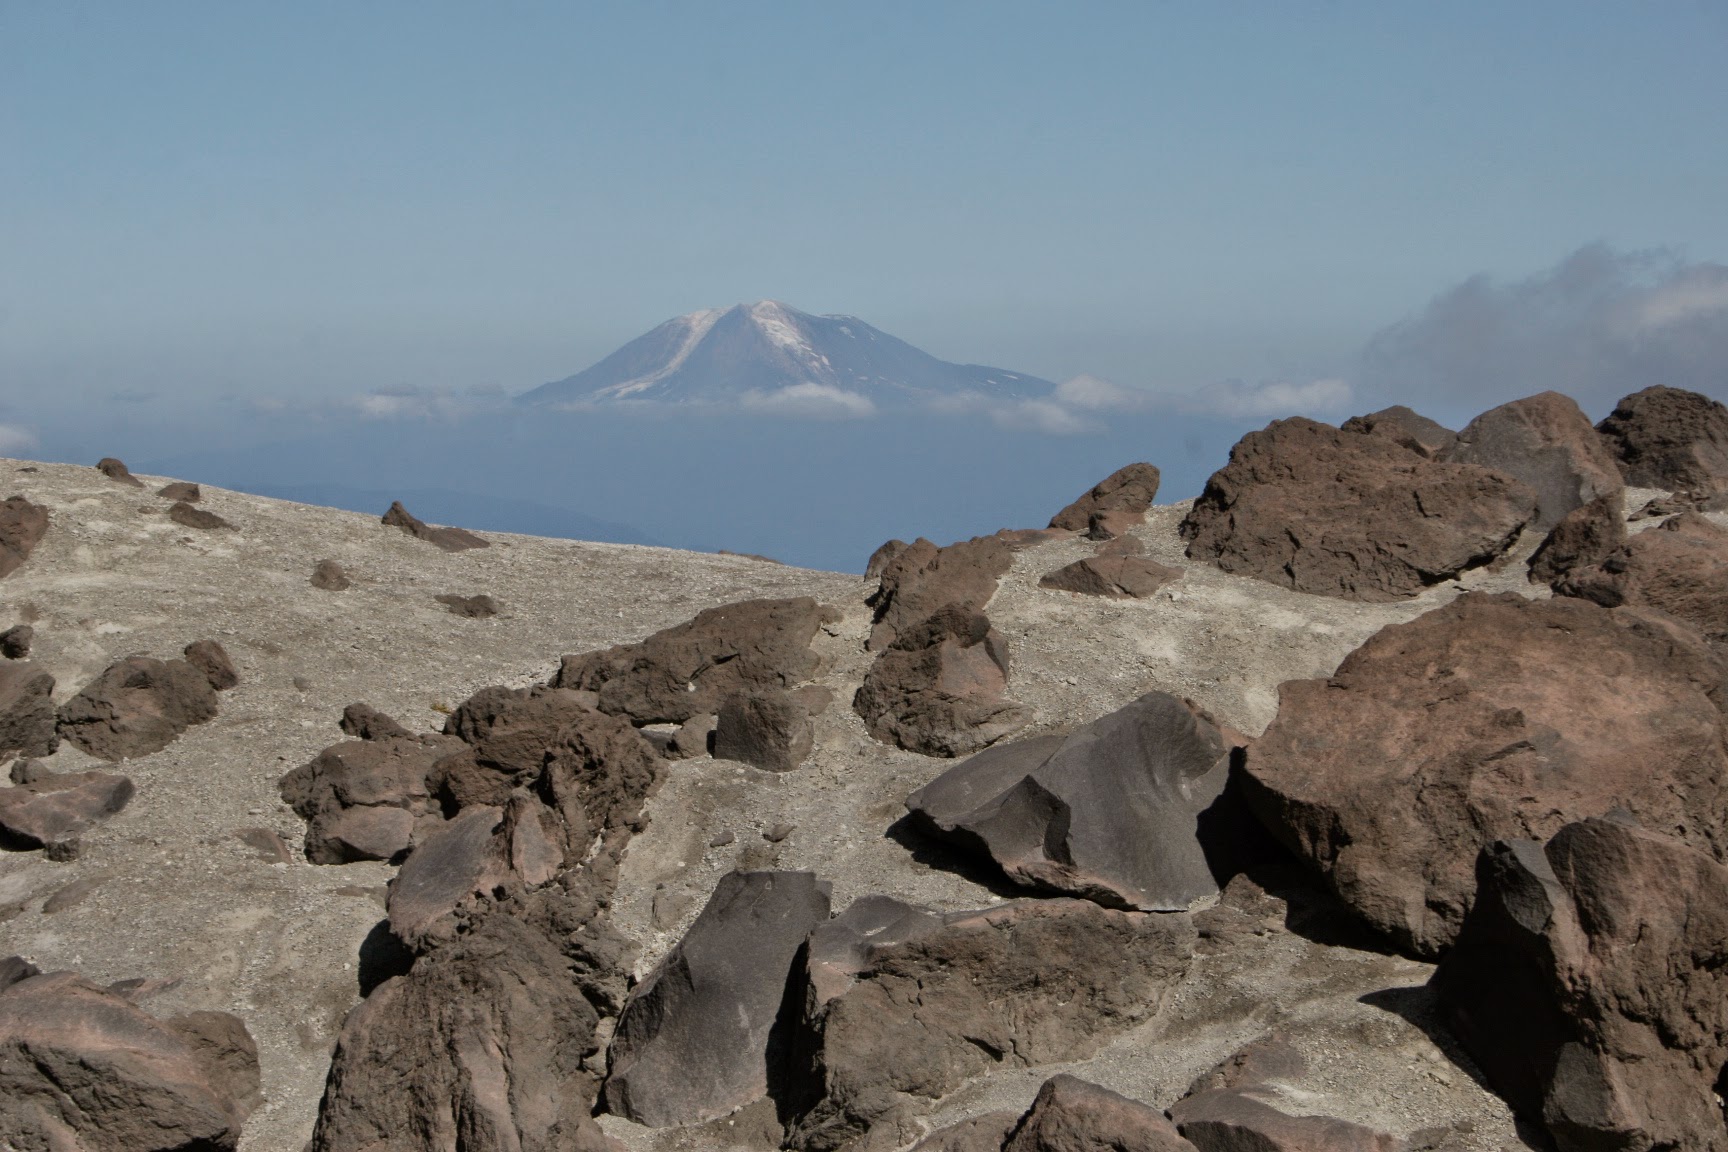
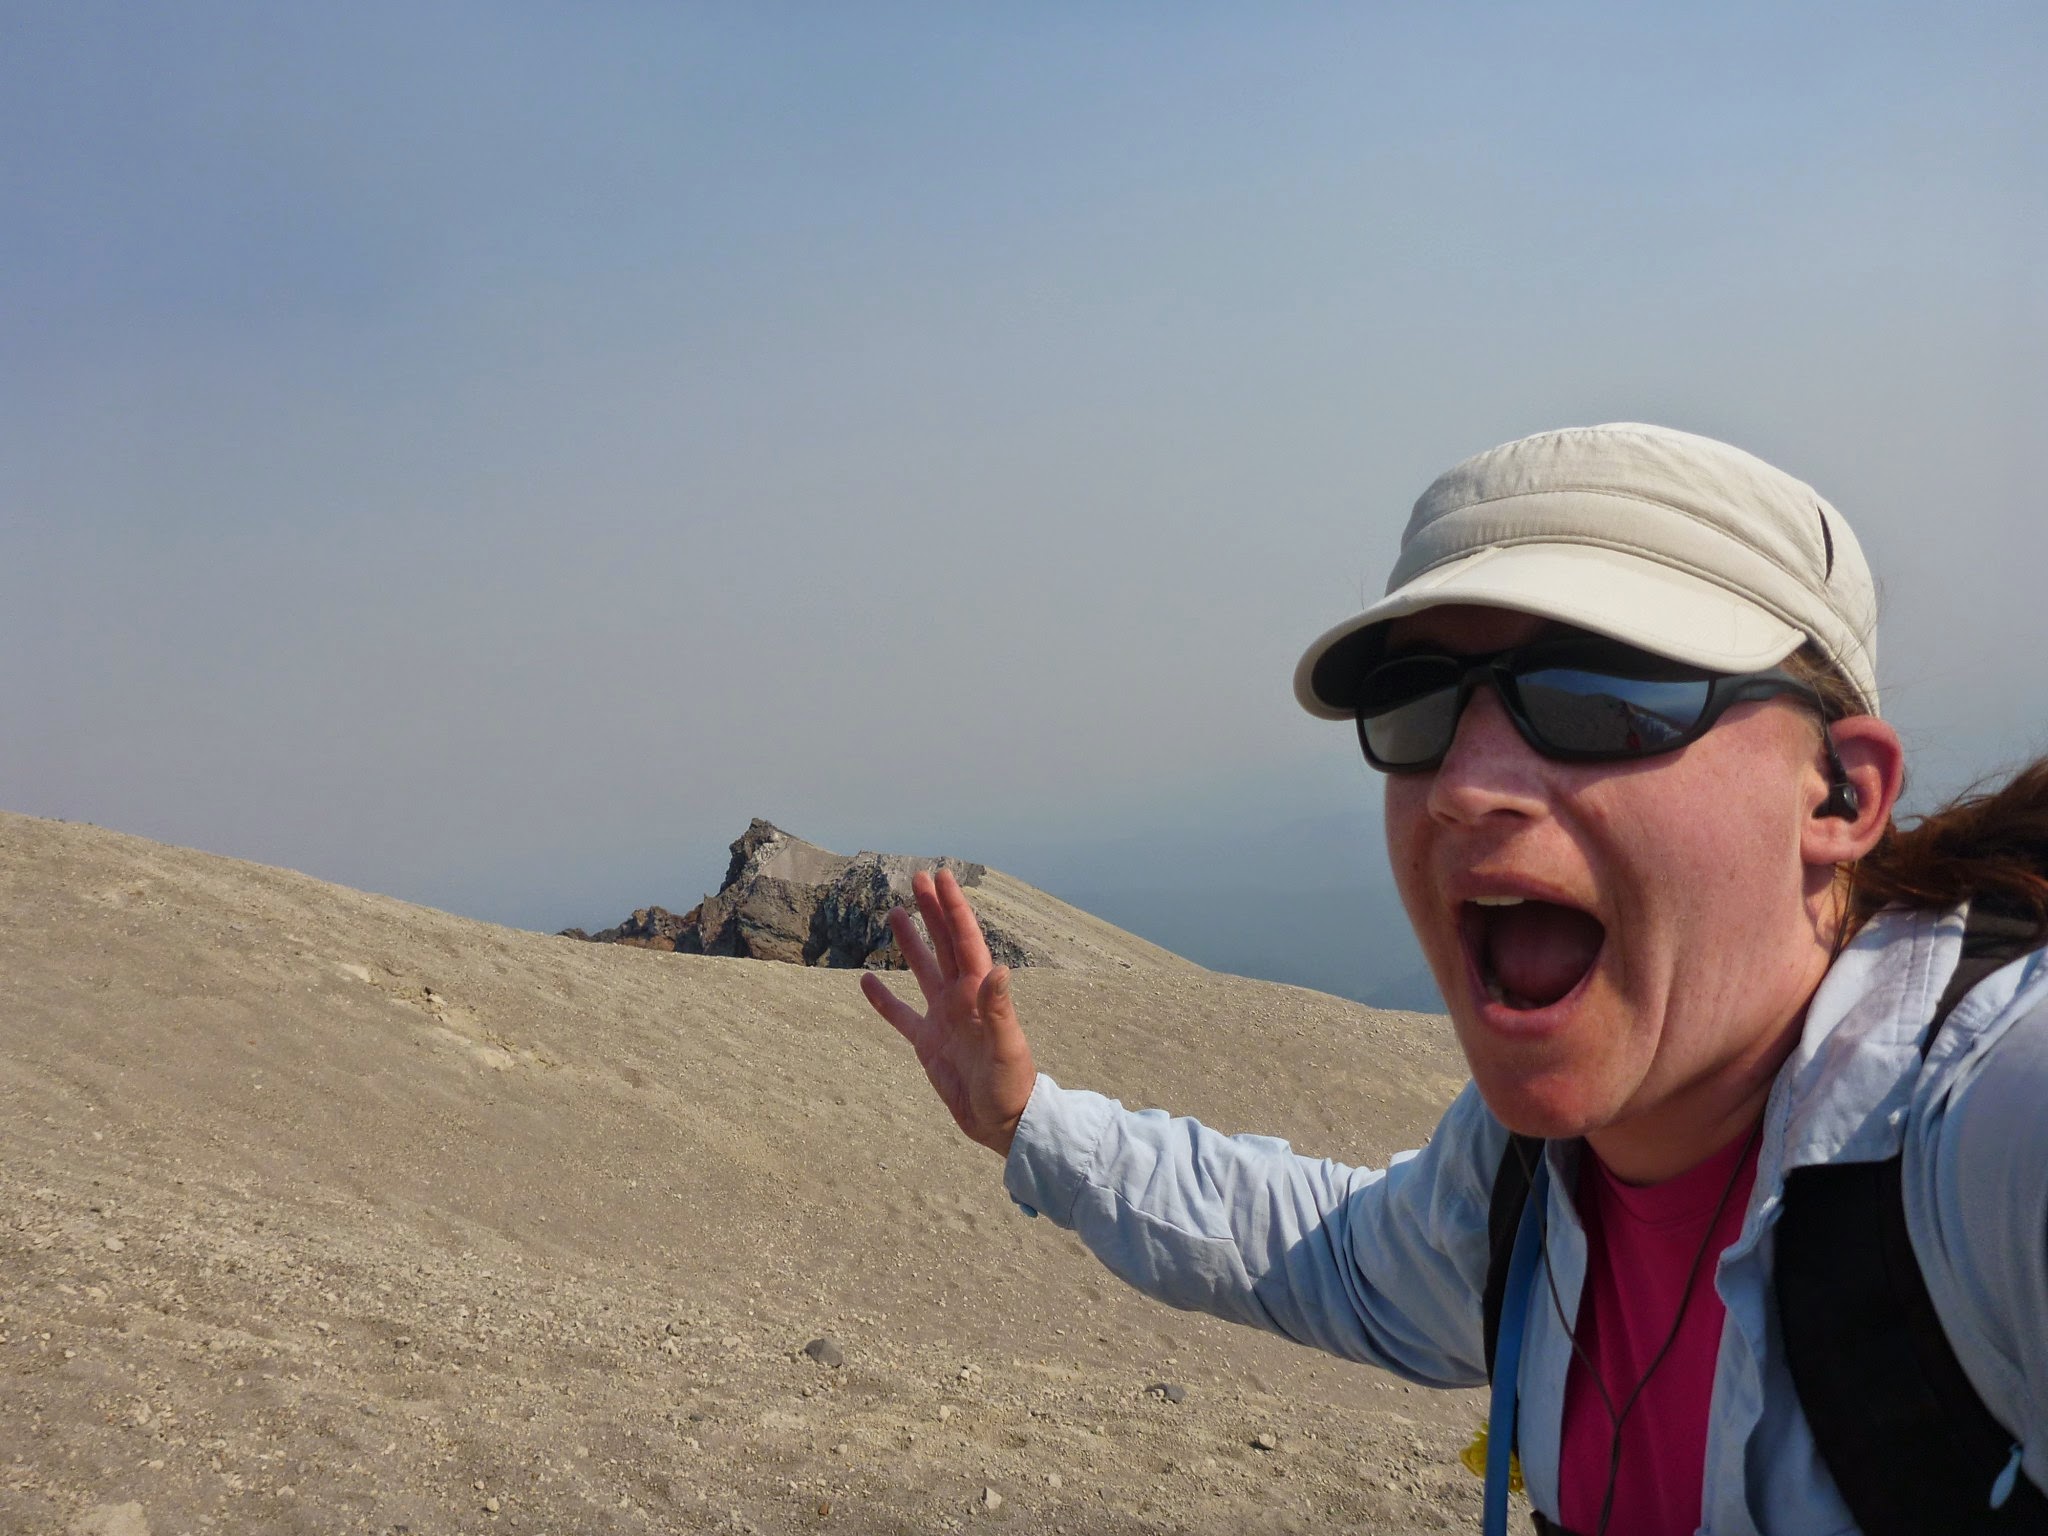
Eventually, you get to the top of the boulders and it transitions to volcanic ash the rest of the way. From this point, you can see the summit above you! This part of the trail is like walking on a beach that is at a very steep angle. This part of the trip can be really discouraging, especially as you slide a bit downwards with each step. But don’t give up (unless you’re running out of water or there’s zero visibility, then you definitely SHOULD give up and try again next time)! You’re almost there and you can see it!
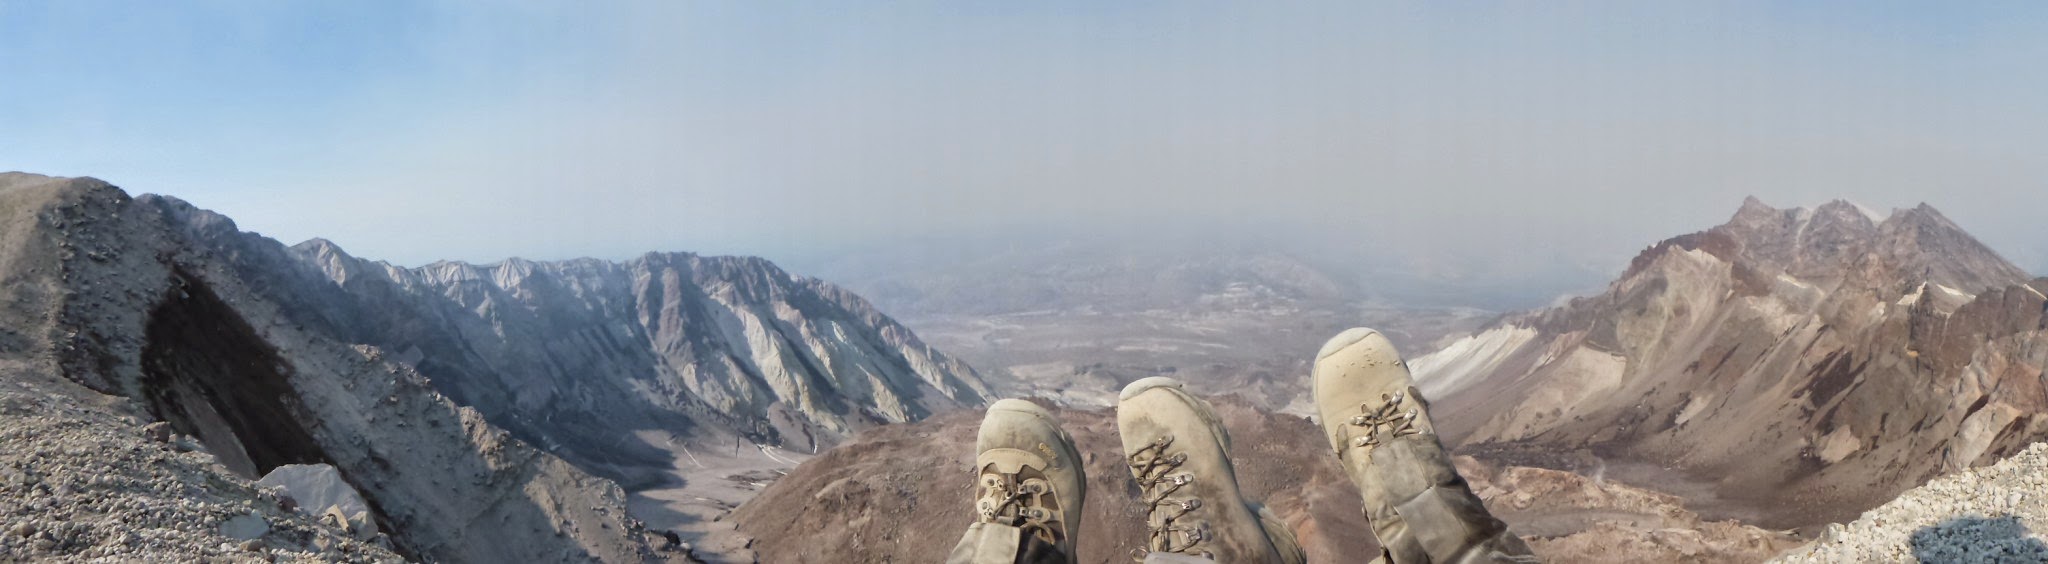
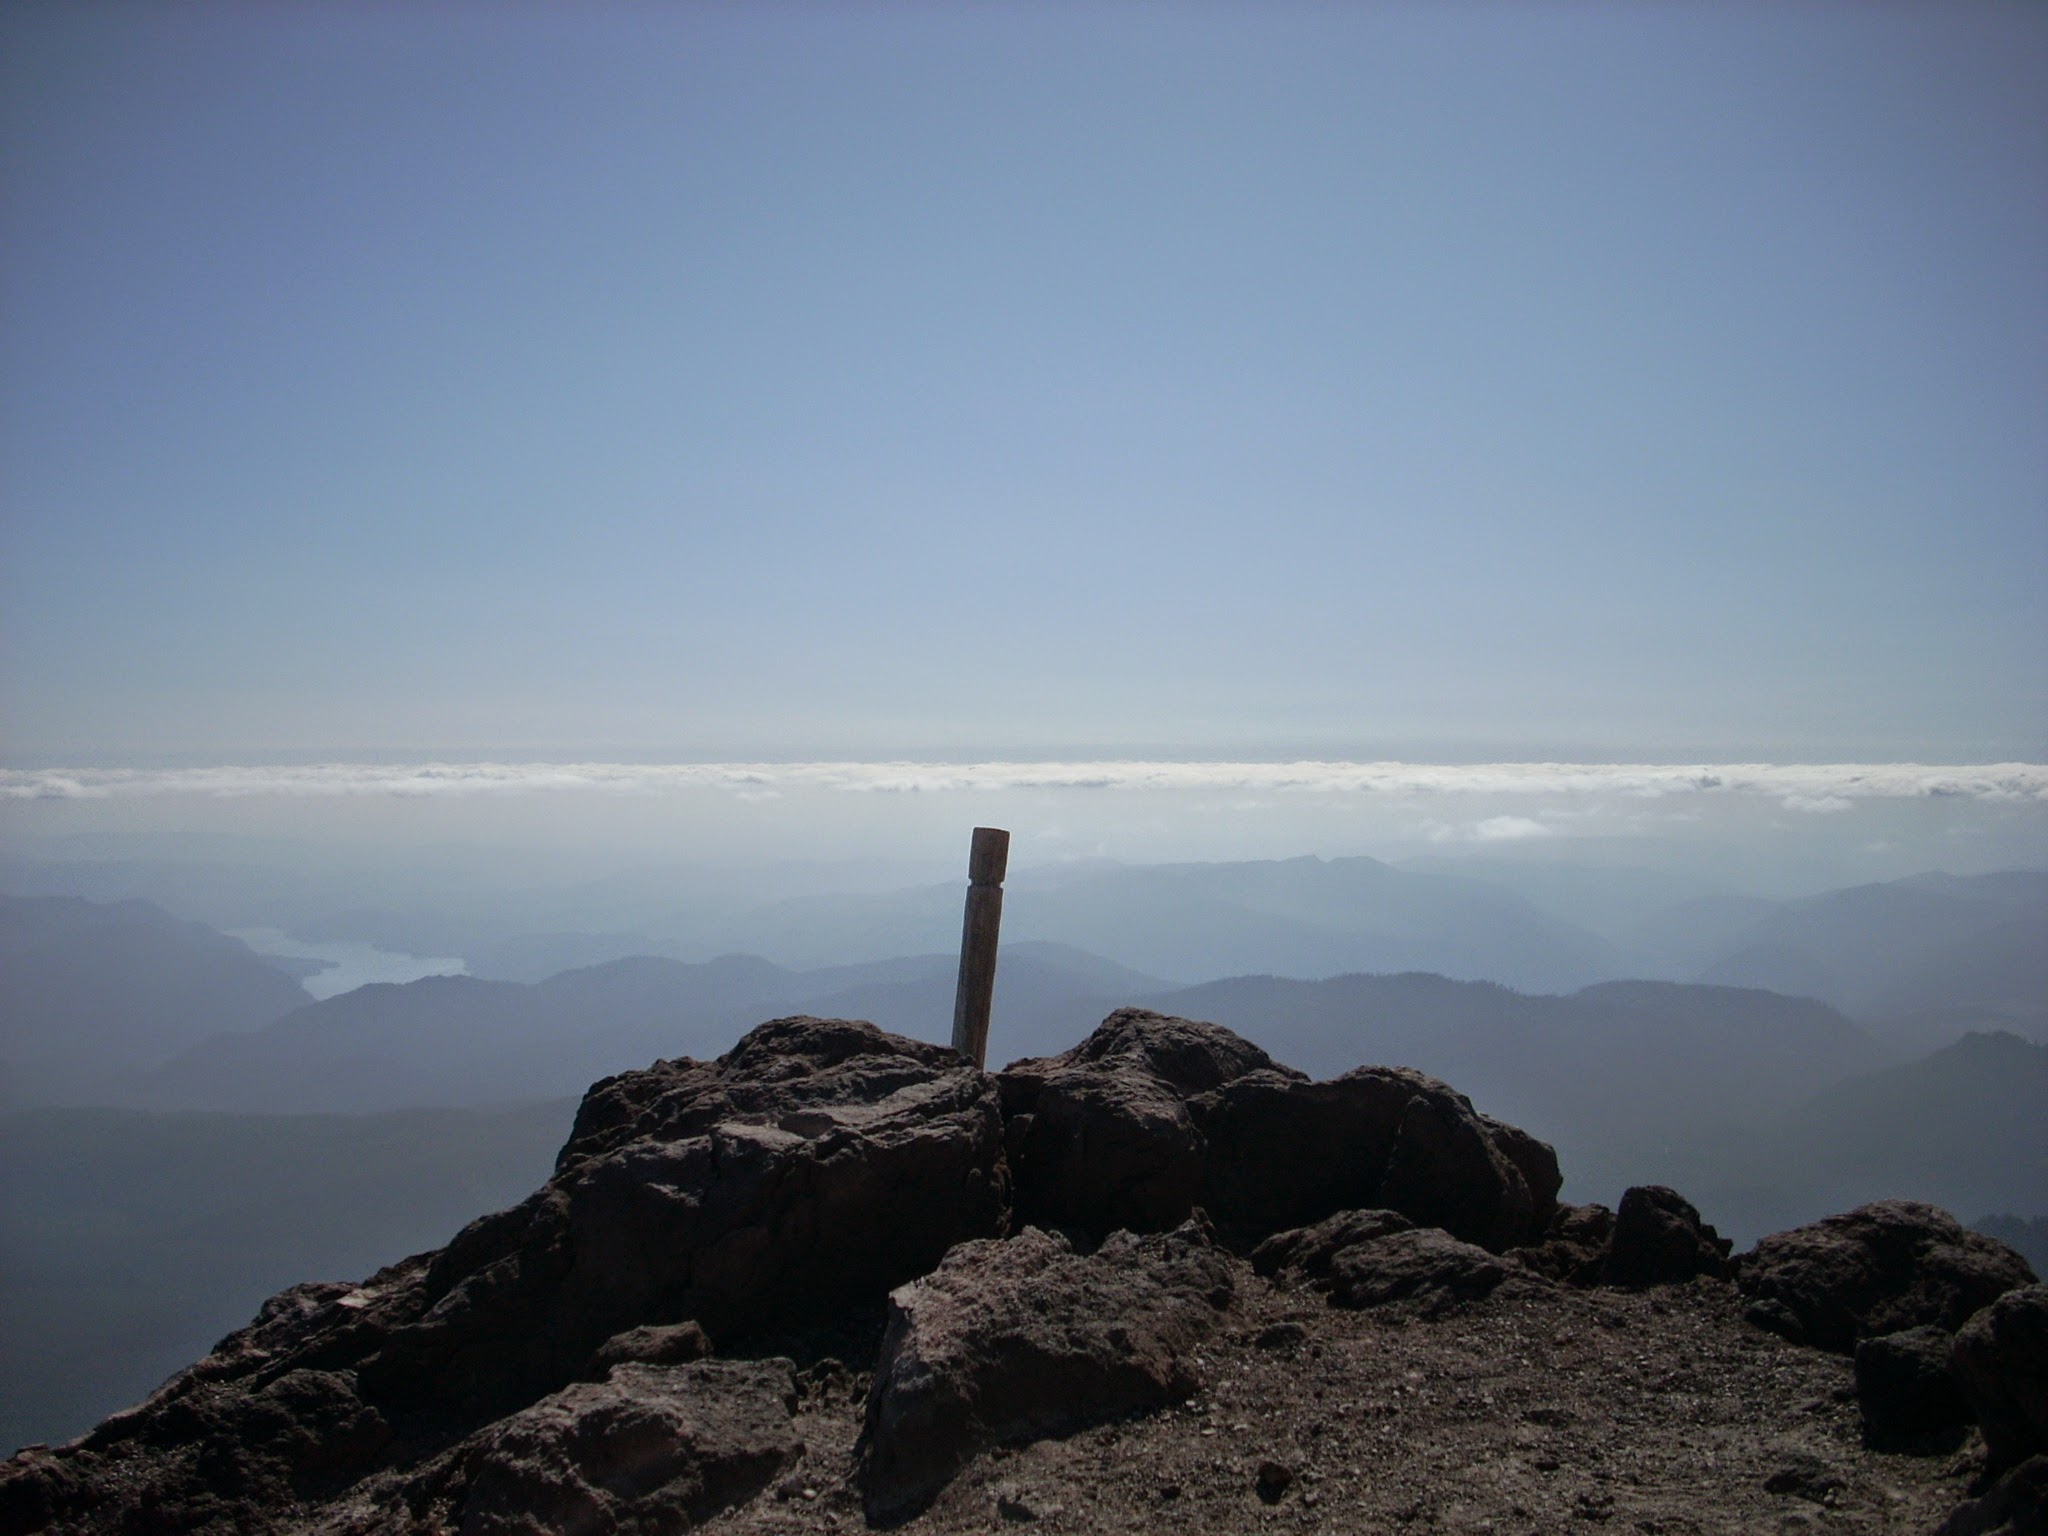
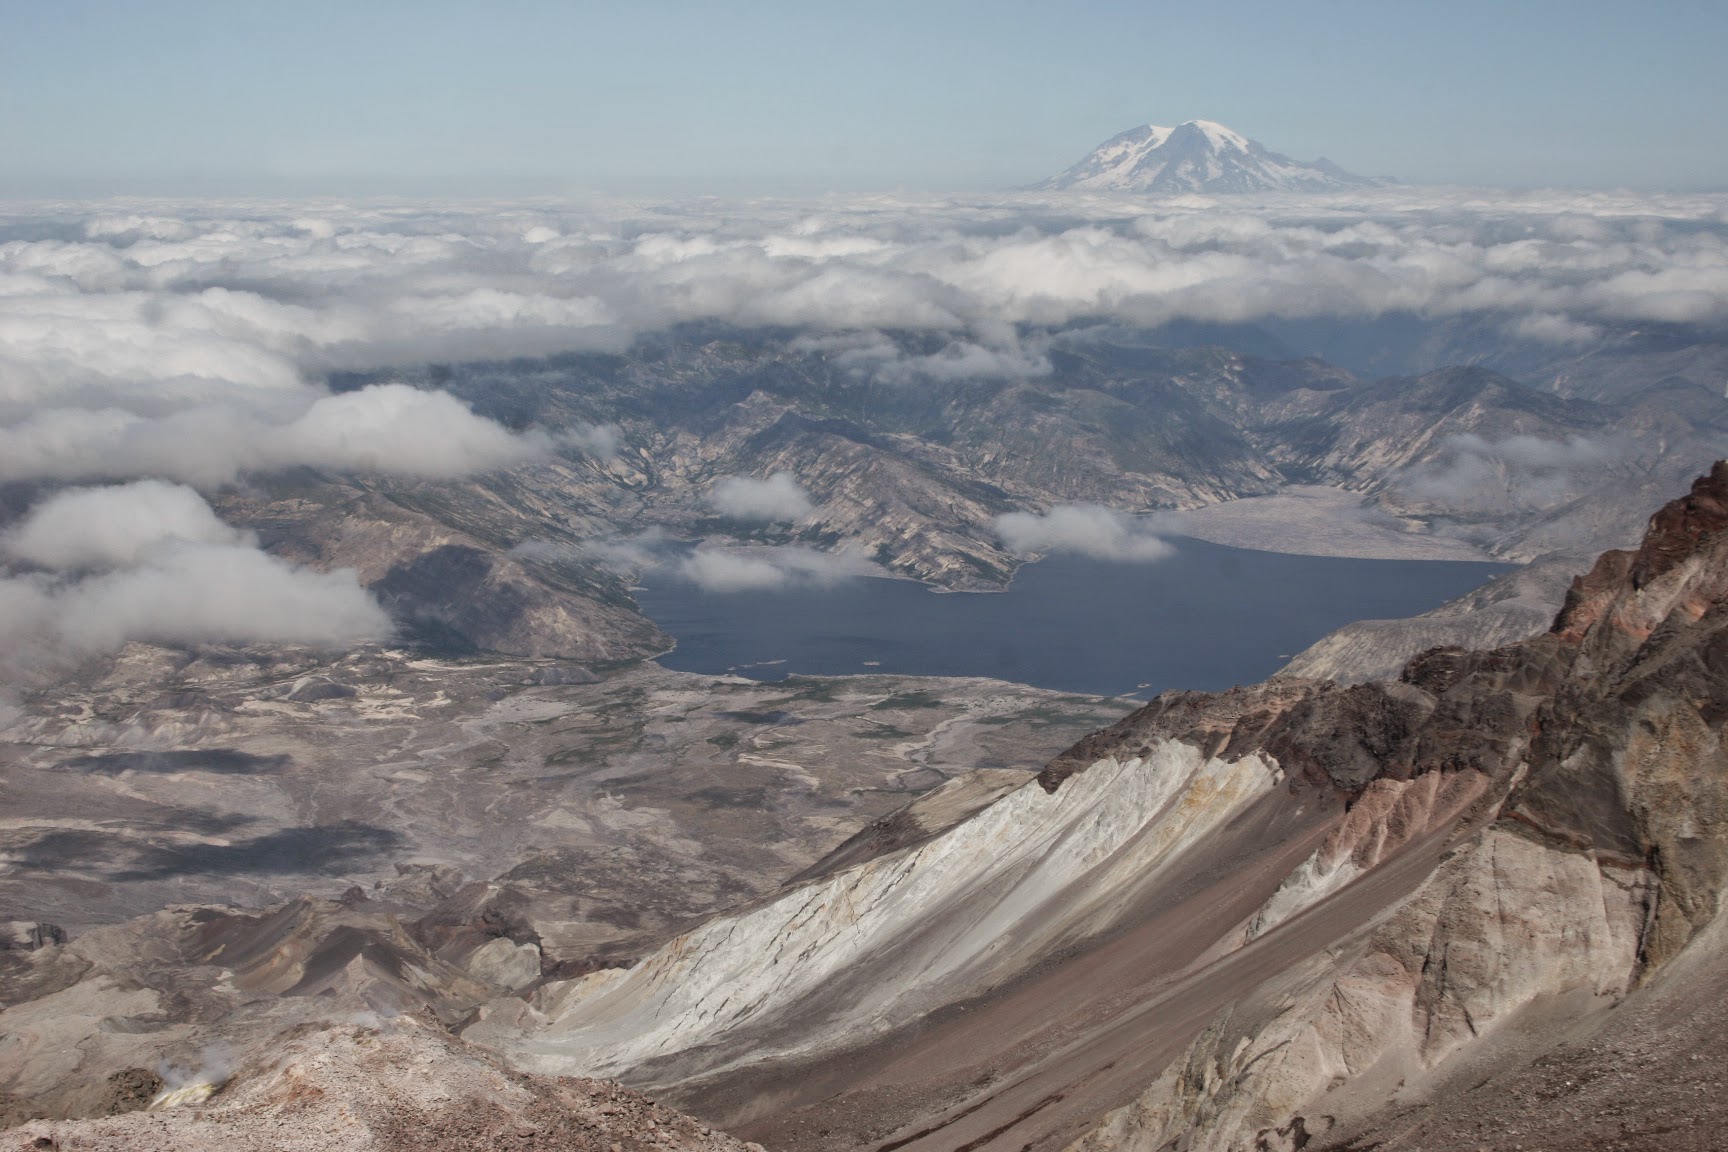
At last! You will find yourself at the summit of Mt St Helens! You won’t see into the crater until you are at the VERY top (25 feet before the top you will not see over), but once there you will be looking directly into the crater of Mt St Helens’s 1980 eruption, the new dome the volcano is building within the crater, Crater Glacier (a rare glacier that is actually advancing) and the miles of destruction beyond, including Spirit Lake (read all about Spirit Lake’s fascinating human and geologic history here) and if it’s clear, Mt Rainier.
Make sure to take some time to soak in the experience, including watching new vents of steam open and close in the crater and hear the sound of steam coming out of the volcano! Be extremely careful near the crater rim and do not approach the edge if any snow remains as it could be hiding a dangerous cornice.
Make sure to give yourself plenty of time to get down. Going down the ash field at the top is fast, but going down the boulders still feels like it takes forever! By the time you reach the trail hike portion on the way down, your muscles will be very tired, so take it easy and break out those trekking poles!

Related posts: